Prototyping levels with CSG
CSG stands for Constructive Solid Geometry, and is a tool to combine basic shapes or custom meshes to create more complex shapes. In 3D modeling software, CSG is mostly known as "Boolean Operators".
Level prototyping is one of the main uses of CSG in Redot. This technique allows users to create the most common shapes by combining primitives. Interior environments can be created by using inverted primitives.
Introduction to CSG nodes
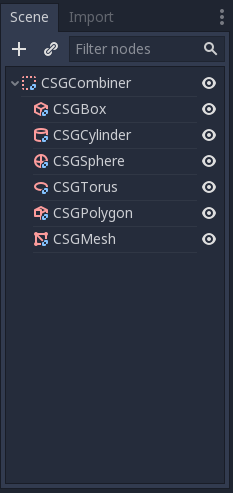
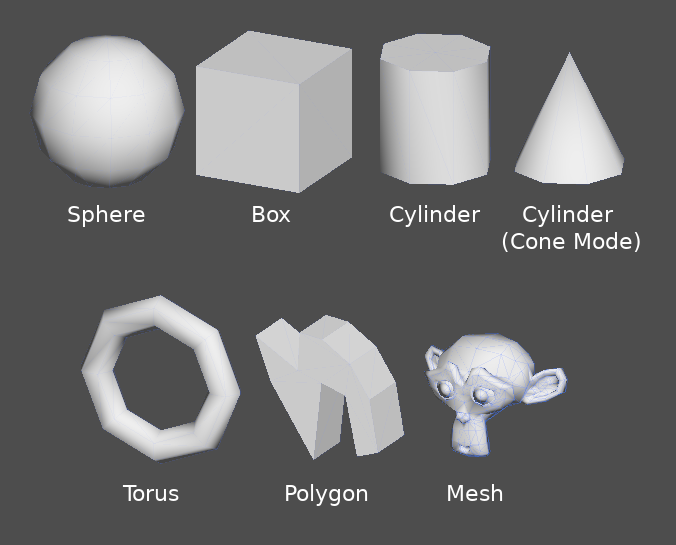
Like other features of Redot, CSG is supported in the form of nodes. These are the CSG nodes:
- CSGBox3D
- CSGCylinder3D (also supports cone)
- CSGSphere3D
- CSGTorus3D
- CSGPolygon3D
- CSGMesh3D
- CSGCombiner3D
CSG tools features
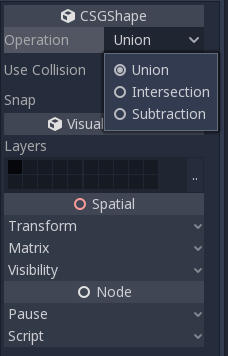
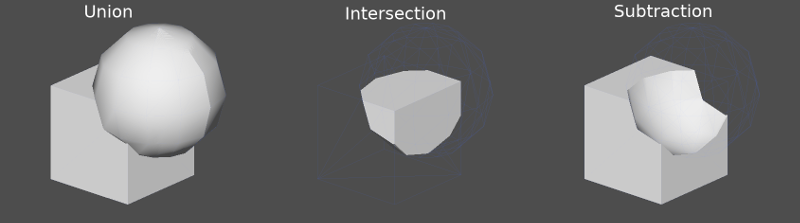
Every CSG node supports 3 kinds of boolean operations:
- Union: Geometry of both primitives is merged, intersecting geometry is removed.
- Intersection: Only intersecting geometry remains, the rest is removed.
- Subtraction: The second shape is subtracted from the first, leaving a dent with its shape.
CSGPolygon
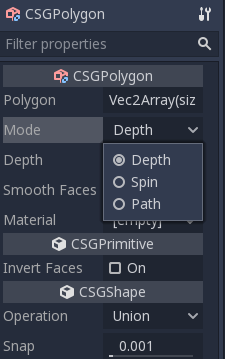
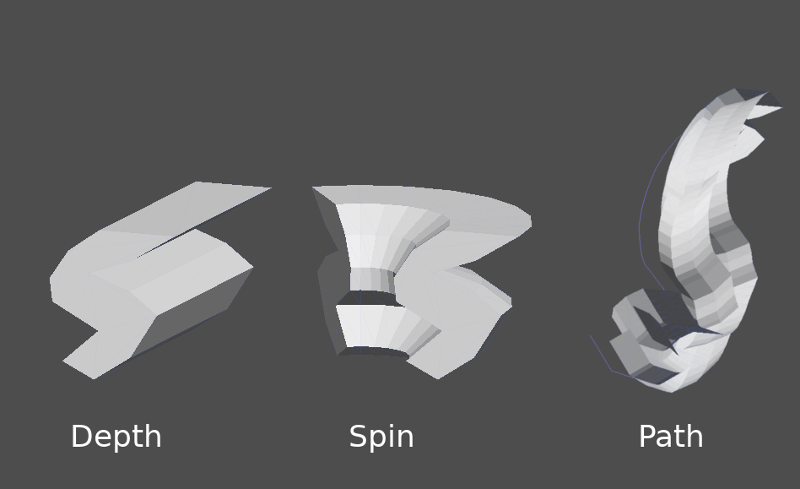
The CSGPolygon3D node extrude along a Polygon drawn in 2D (in X, Y coordinates) in the following ways:
- Depth: Extruded back a given amount.
- Spin: Extruded while spinning around its origin.
- Path: Extruded along a Path node. This operation is commonly called lofting.
Custom meshes
Custom meshes can be used for CSGMesh3D as long as the mesh is manifold. The mesh can be modeled in other software and imported into Redot. Multiple materials are supported.
For a mesh to be used as a CSG mesh, it is required to:
- be closed
- have each edge connect to only two faces
- have volume
And it is recommended to avoid:
- negative volume
- self-intersection
- interior faces
Redot uses the manifold library to implement CSG meshes. The technical definition of "manifold" used by Redot is the following, adapted from that library's definition of "manifold":
Every edge of every triangle must contain the same two vertices (by index) as exactly one other triangle edge, and the start and end vertices must switch places between these two edges. The triangle vertices must appear in clockwise order when viewed from the outside of the Redot Engine manifold mesh.
CSGCombiner3D
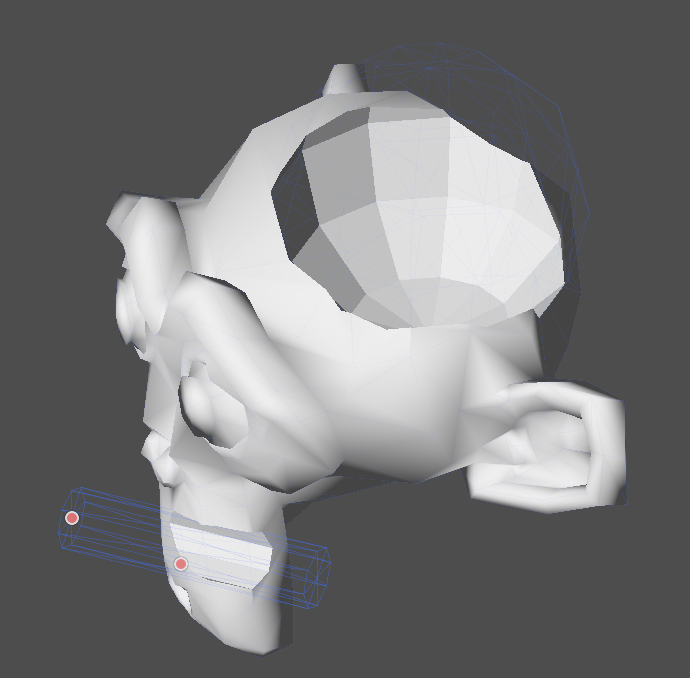
The CSGCombiner3D node is an empty shape used for organization. It will only combine children nodes.
Processing order
Every CSG node will first process its children nodes and their operations: union, intersection, or subtraction, in tree order, and apply them to itself one after the other.
Prototyping a level
We will prototype a room to practice the use of CSG tools.
Our level will contain these objects:
- a room,
- a bed,
- a lamp,
- a desk,
- a bookshelf.
Create a scene with a Node3D node as root node.
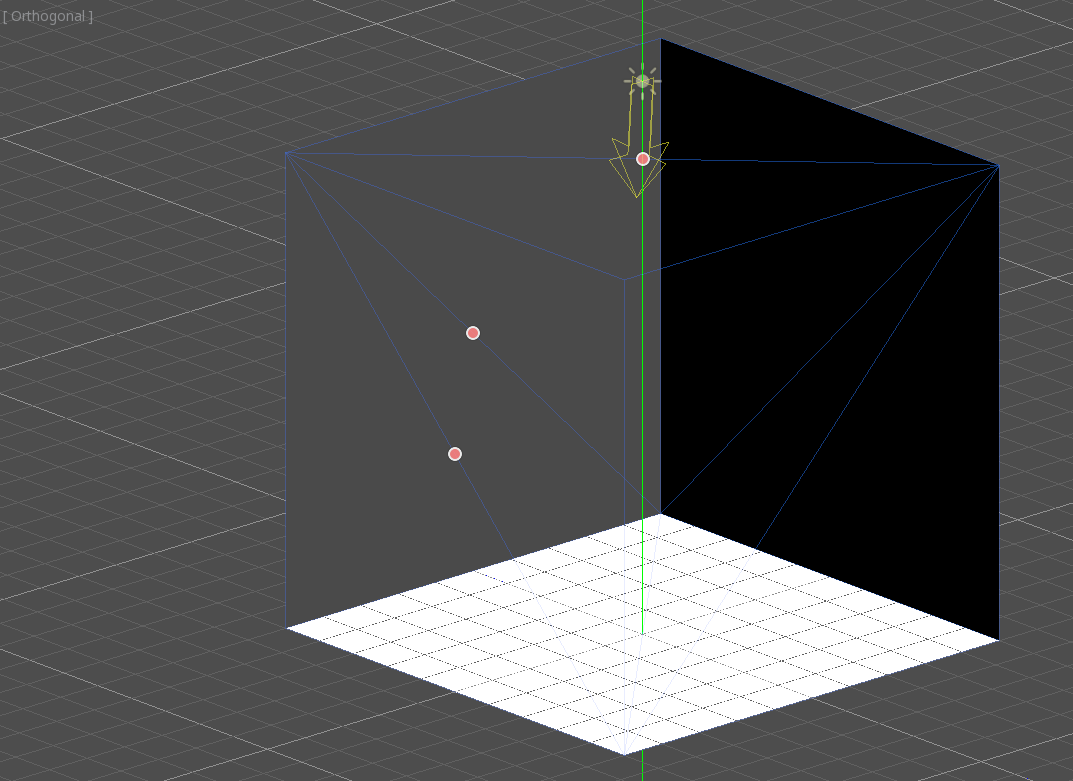
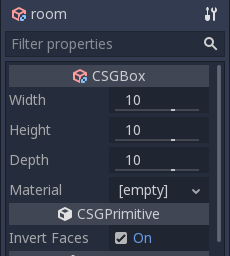
Create a CSGBox3D and name it room, enable Invert Faces and change the
dimensions of your room.
Next, create a CSGCombiner3D and name it desk.
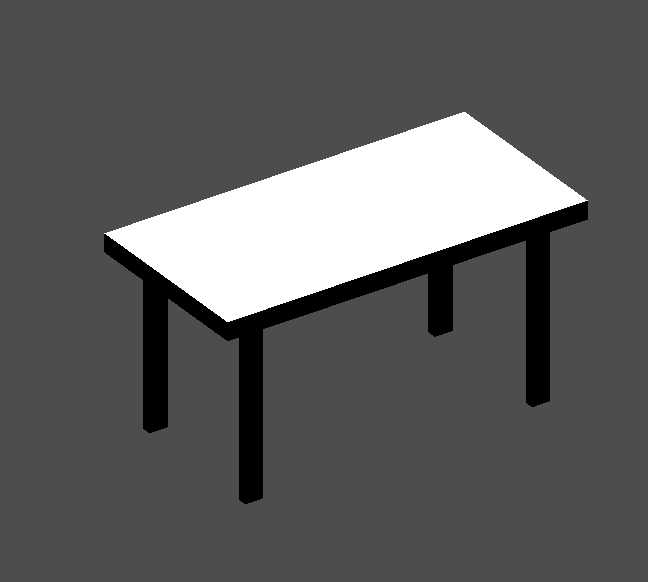
A desk has one surface and 4 legs:
- Create 1 CSGBox3D children node in Union mode for the surface and adjust the dimensions.
- Create 4 CSGBox3D children nodes in Union mode for the legs and adjust the dimensions.
Adjust their placement to resemble a desk.
Create a CSGCombiner3D and name it bed.
Our bed consists of 3 parts: the bed, the mattress and a pillow. Create a CSGBox3D and adjust its dimension for the bed. Create another CSGBox3D and adjust its dimension for the mattress.
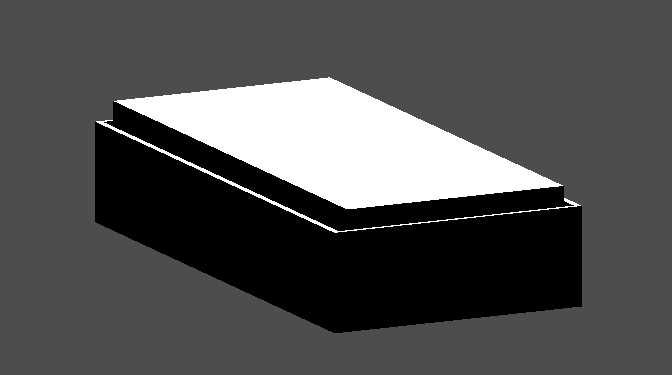
We will create another CSGCombiner3D named pillow as the child of bed.
The scene tree should look like this:
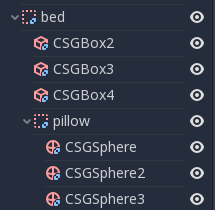
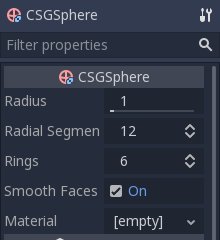
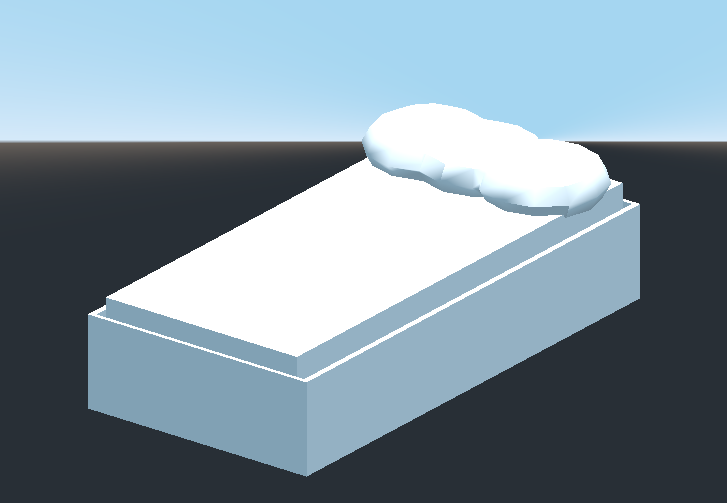
We will combine 3 CSGSphere3D nodes in Union mode to form a pillow. Scale the Y axis of the spheres and enable Smooth Faces.
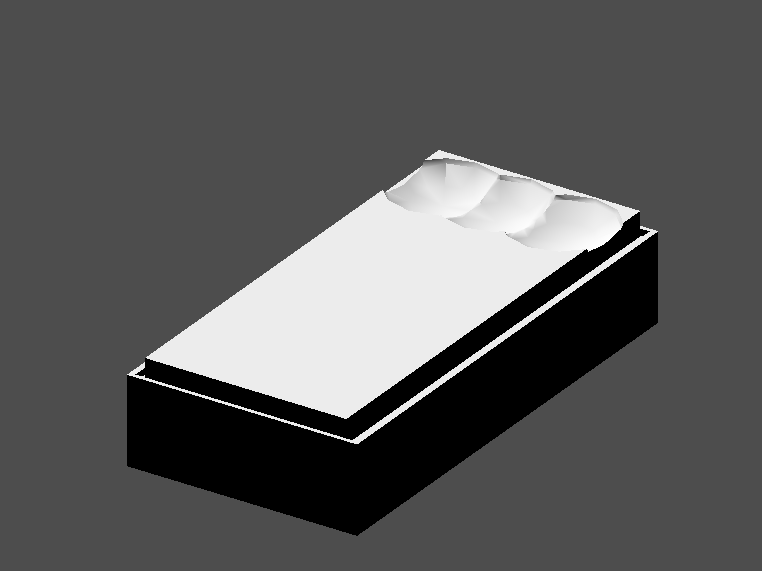
Select the pillow node and switch the mode to Subtraction; the combined
spheres will cut a hole into the mattress.
Try to re-parent the pillow node to the root Node3D node; the hole will
disappear.
Undo the re-parent after observing the effect. The bed you've built should look like this:
Create a CSGCombiner3D and name it lamp.
A lamp consists of 3 parts: the stand, the pole and the lampshade. Create a CSGCylinder3D, enable the Cone option and make it the stand. Create another CSGCylinder3D and adjust the dimensions to use it as a pole.
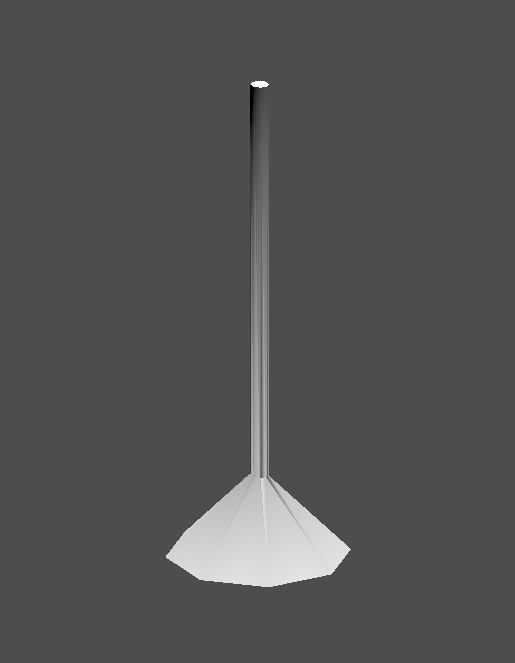
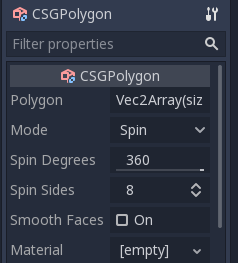
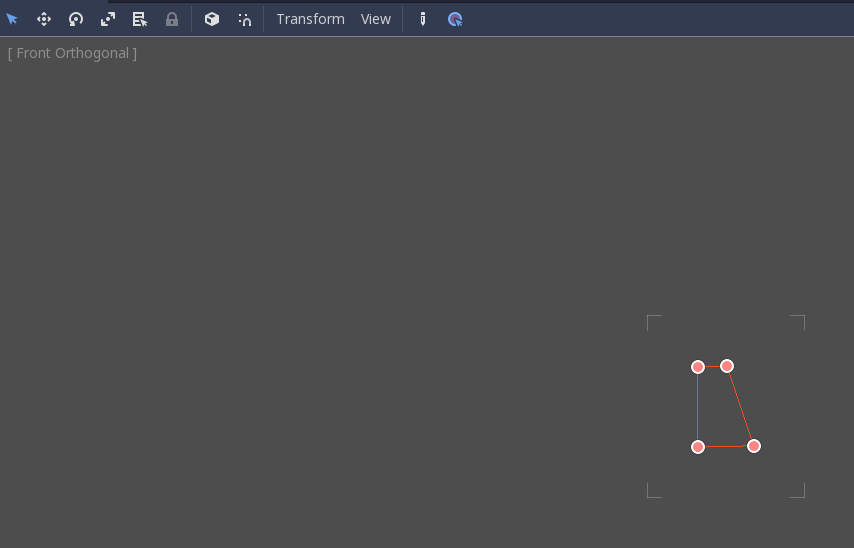
We will use a CSGPolygon3D for the lampshade. Use the Spin mode for the CSGPolygon3D and draw a trapezoid while in Front View (numeric keypad 1); this shape will extrude around the origin and form the lampshade.
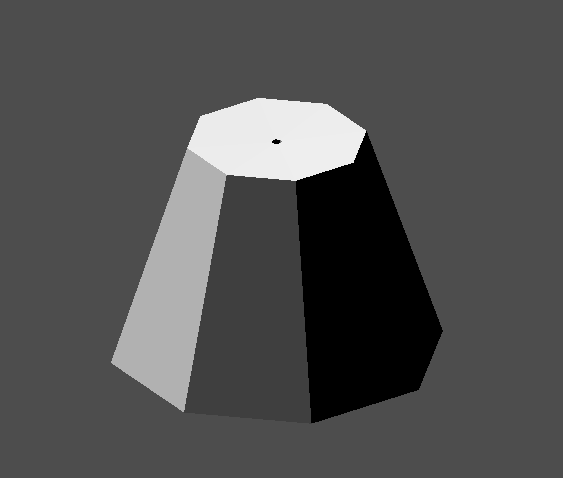
Adjust the placement of the 3 parts to make it look like a lamp.
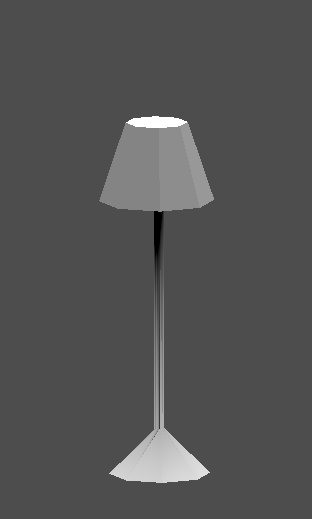
Create a CSGCombiner3D and name it bookshelf.
We will use 3 CSGBox3D nodes for the bookshelf. Create a CSGBox3D and adjust its dimensions; this will be the size of the bookshelf.
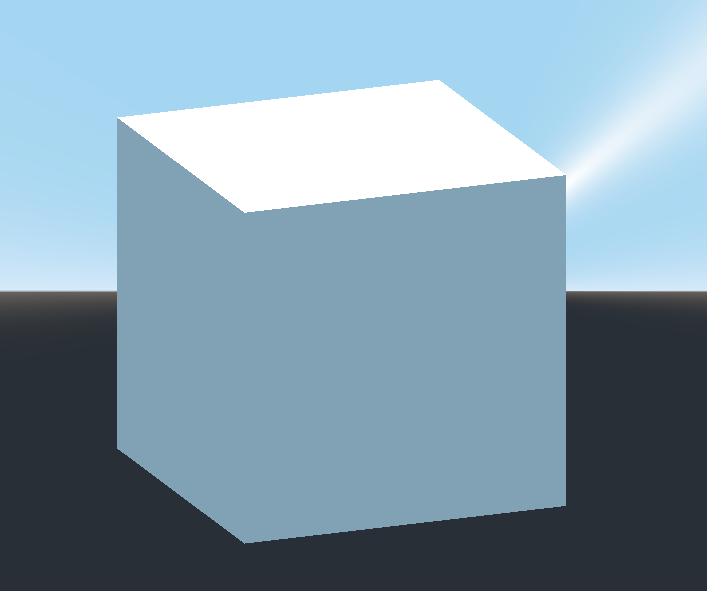
Duplicate the CSGBox3D and shorten the dimensions of each axis and change the mode to Subtraction.
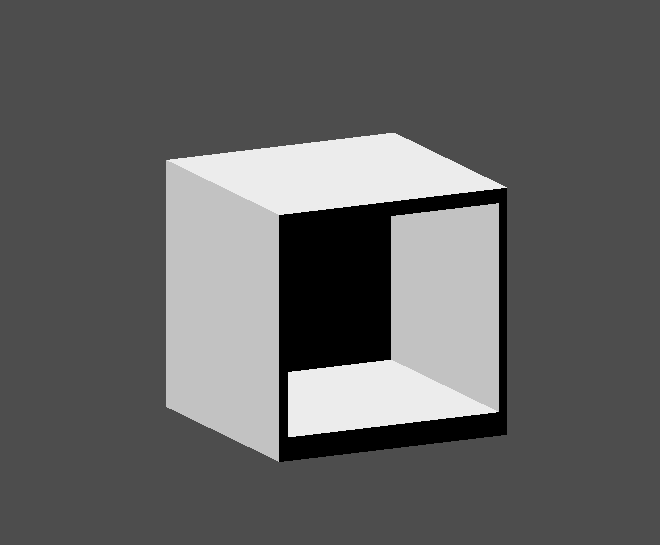
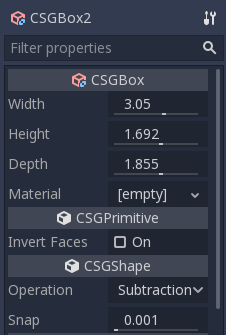
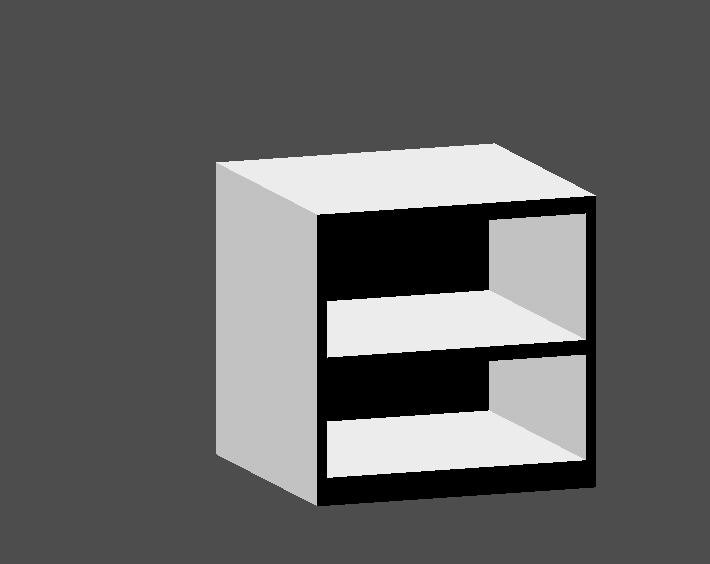
You've almost built a shelf. Create one more CSGBox3D for dividing the shelf into two levels.
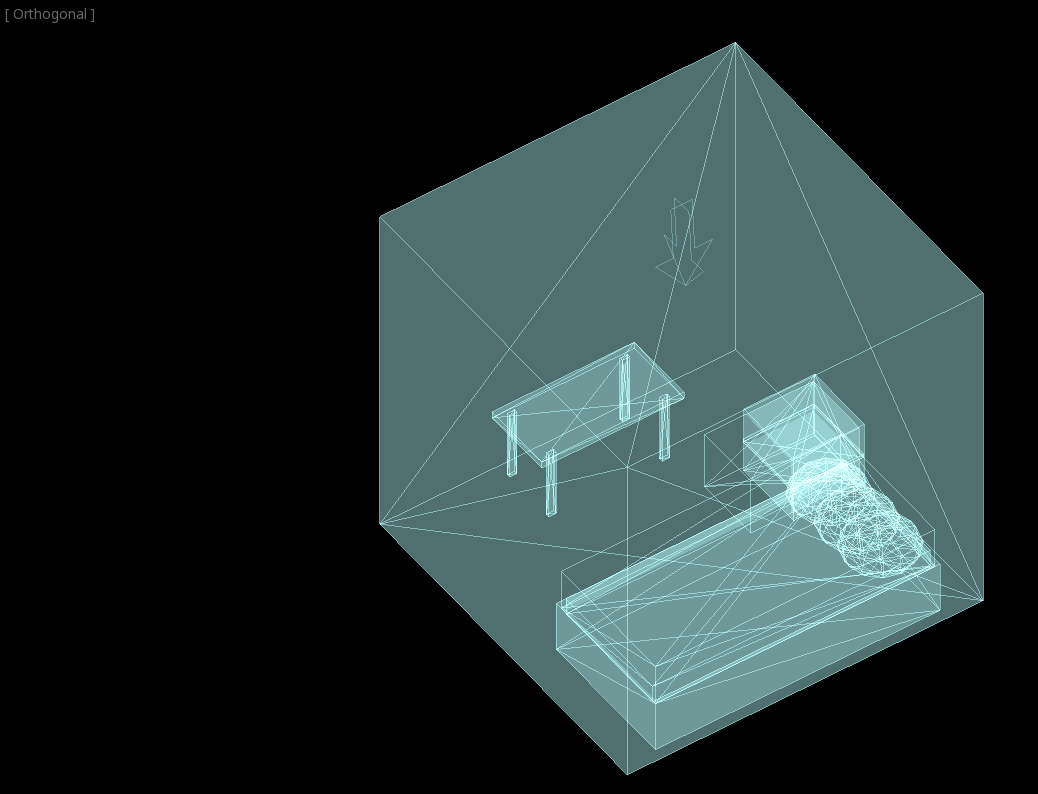
Position your furniture in your room as you like and your scene should look this:
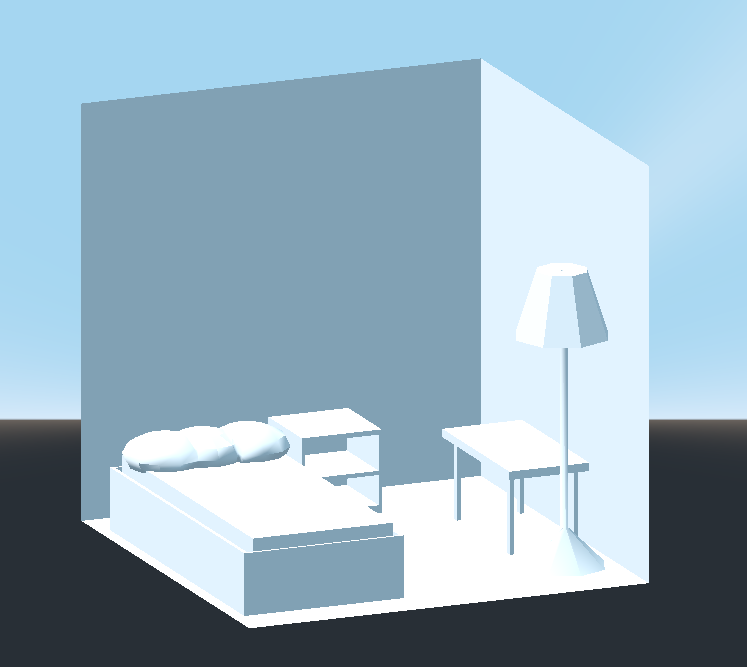
You've successfully prototyped a room level with the CSG tools in Redot. CSG tools can be used for designing all kinds of levels, such as a maze or a city; explore its limitations when designing your game.
Using prototype textures
Redot's Standard Material 3d supports triplanar mapping, which can be used to automatically apply a texture to arbitrary objects without distortion. This is handy when using CSG as Redot doesn't support editing UV maps on CSG nodes yet. Triplanar mapping is relatively slow, which usually restricts its usage to organic surfaces like terrain. Still, when prototyping, it can be used to quickly apply textures to CSG-based levels.
There are two ways to apply a material to a CSG node:
- Applying it to a CSGCombiner3D node as a material override (Geometry > Material Override in the Inspector). This will affect its children automatically, but will make it impossible to change the material in individual children.
- Applying a material to individual nodes (Material in the Inspector). This way, each CSG node can have its own appearance. Subtractive CSG nodes will apply their material to the nodes they're "digging" into.
To apply triplanar mapping to a CSG node, select it, go to the Inspector, click the [empty] text next to Material Override (or Material for individual CSG nodes). Choose New StandardMaterial3D. Click the newly created material's icon to edit it. Unfold the Albedo section and load a texture into the Texture property. Now, unfold the Uv1 section and check Triplanar. You can change the texture offset and scale on each axis by playing with the Scale and Offset properties just above. Higher values in the Scale property will cause the texture to repeat more often.
Converting to MeshInstance3D
Since Redot 4.4, you can convert a CSG node and its children to a class MeshInstance3D node.
This has several benefits:
- Bake lightmaps, since UV2 can be generated on a MeshInstance3D.
- Bake occlusion culling, since the occlusion culling bake process only takes MeshInstance3D into account.
- Faster loading times, since the CSG mesh no longer needs to be rebuilt when the scene loads.
- Better performance when updating the node's transform if using the mesh within another CSG node.
To convert a CSG node to a MeshInstance3D node, select it, then choose CSG > Bake Mesh Instance in the toolbar. The MeshInstance3D node will be created as a sibling. Note that the CSG node that was used for baking is not hidden automatically, so remember to hide it to prevent its geometry from overlapping with the newly created MeshInstance3D.
You can also create a trimesh collision shape using CSG > Bake Collision Shape. The generated class CollisionShape3D node must be a child of a class StaticBody3D or class AnimatableBody3D node to be effective.
Exporting as glTF
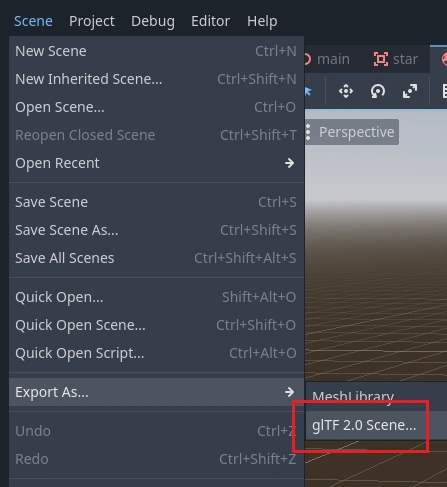
It can be useful to block out a level using CSG, then export it as a 3d model, to import into 3D modeling software. You can do this by selecting Scene > Export As... > glTF 2.0 Scene.